Quick Guide: Creating AI Images Locally with Stable Diffusion and WebUI
Cut costs and gain knowledge by setting up, adjusting, and operating the Stable Diffusion AI model on your local machine or a dedicated cloud server.


Generating images with AI models has become a popular topic recently. Several well-known models are utilized by numerous services. While some perform more effectively, others are simply subpar. However, the majority of these models share one common characteristic - they require payment.
For most of us, this expense might go unnoticed in our budget plans. However, if you want to experiment or find the best configuration for your needs, using a SaaS service could be shooting yourself in the foot.
A much more accurate way is to use one of the publicly available models and run it locally. When I'm writing this article, on the market are the six most popular AI models to generate images: DALLE-3 (or DALLE-2), Midjourney, Imagen by Google, Make-A-Sense by Meta, DragGAN, and Stable Diffusion by stability.ai.
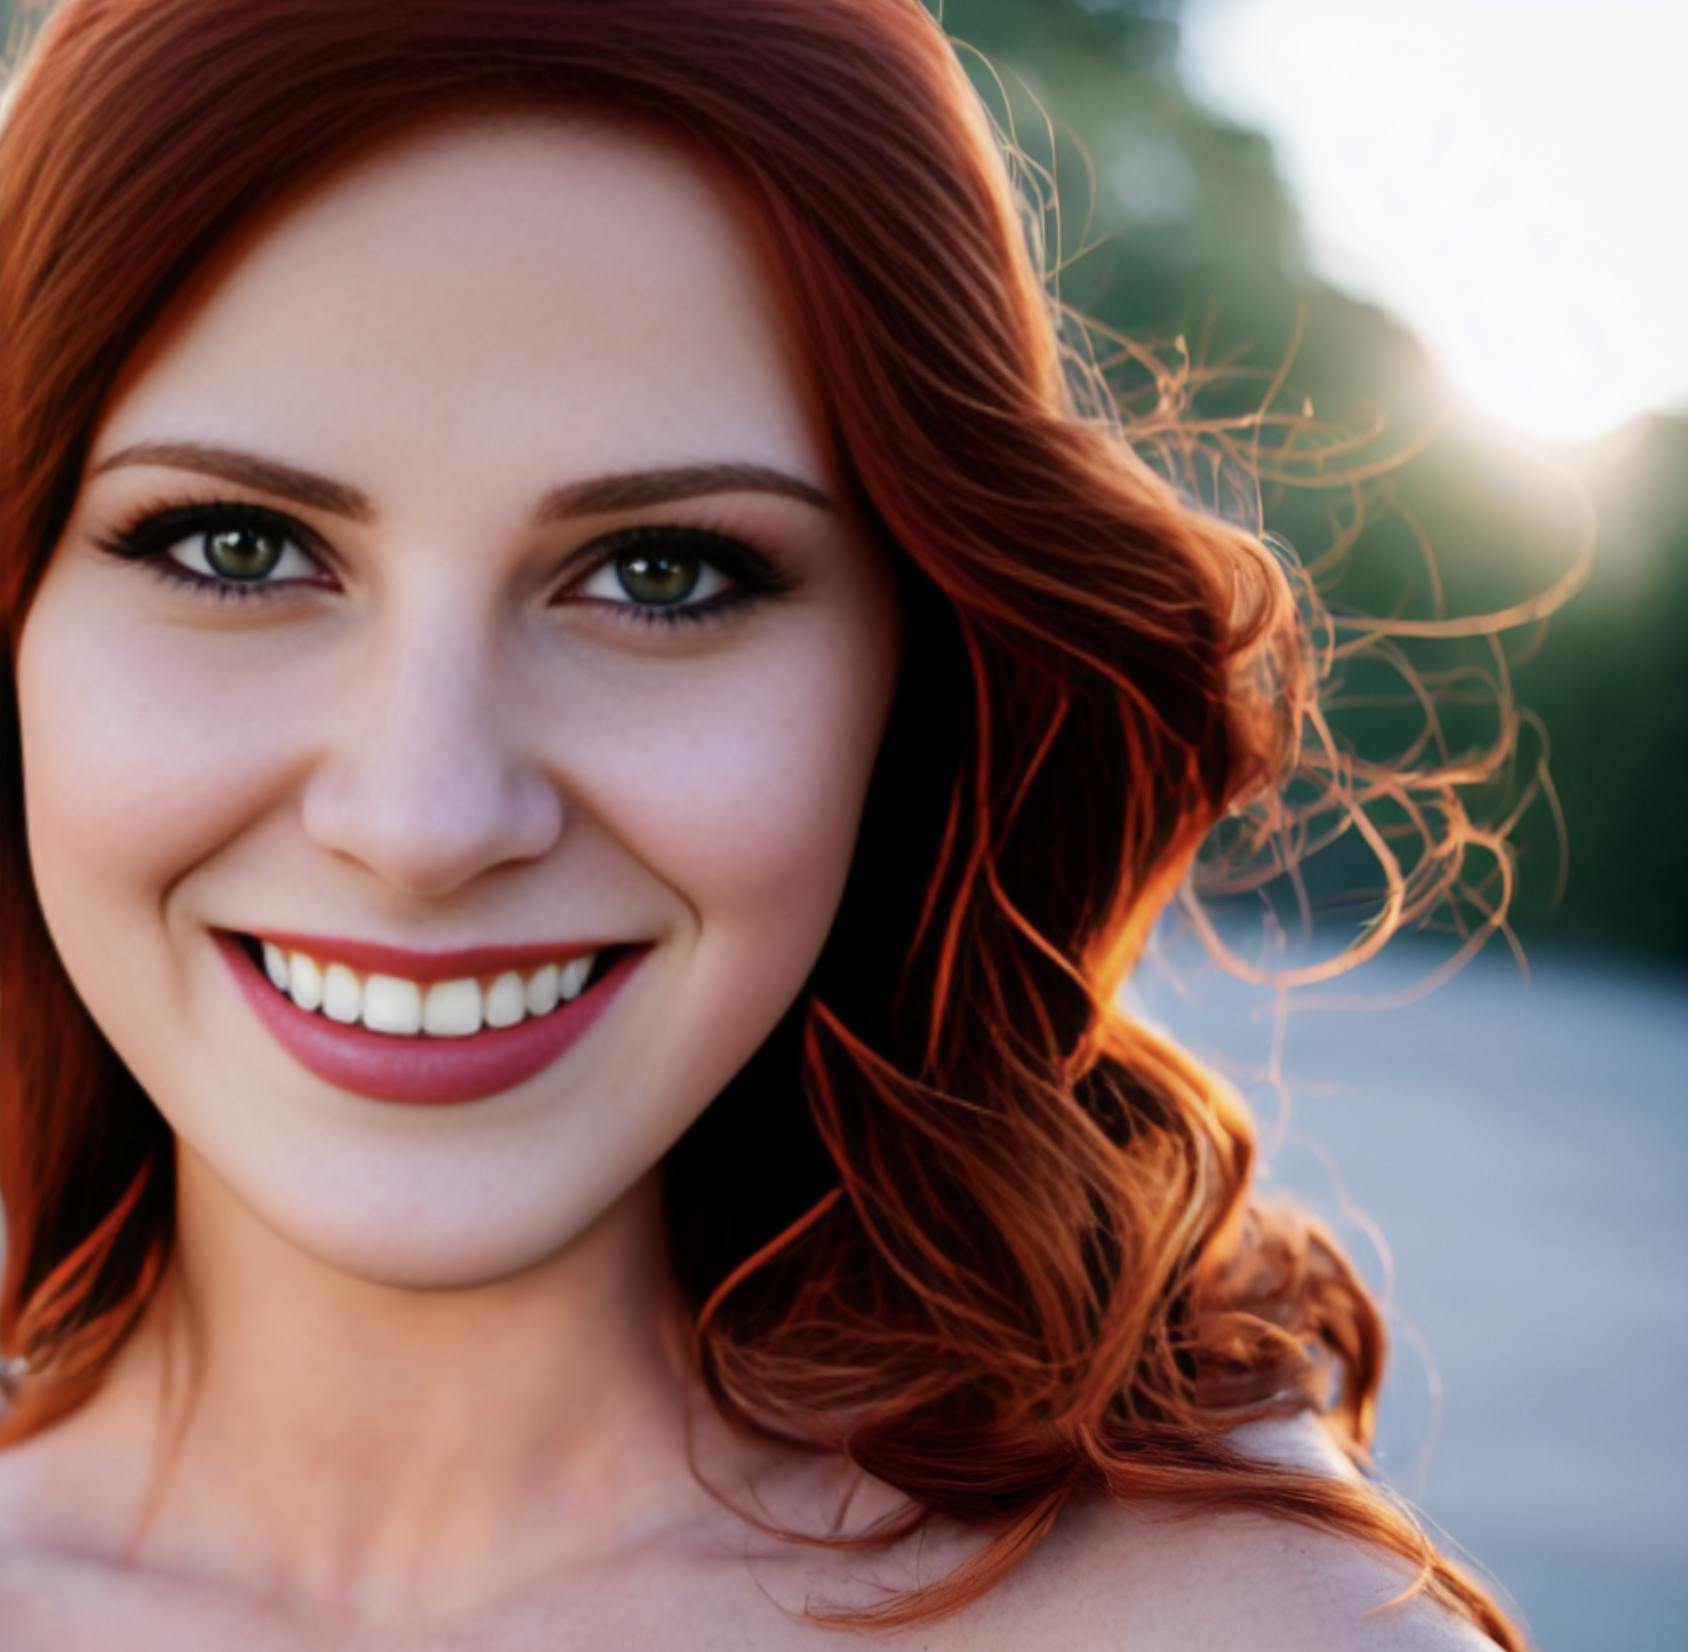
In this article, I'll focus on the last one mostly because it fits my needs the most, generates good results, and is easy to deploy and use locally.

Prepare environment
Stable diffusion models are developed in Python using PyTorch. This means that there are no specific software requirements for using them, primarily just hardware requirements.
In this article, I'll focus on Linux-based preparation, but most of these steps can be easily adapted to a Mac environment.
Required software and hardware
I'm using Mac PRO with M1 as well as M2. If you do not have a machine with CUDA kernel you can use optimized cloud computing. Read more in the section Set up our environment in the cloud
GIT
GIT is one of the most obvious tools that you probably have installed in your OS. If not, you can easily install it:
sudo apt install -y git
Required dependencies (libraries)
To compile some Python libraries we may need additional dependencies. If you're using a Mac, most of these packages are likely already available and ready to use. Just be sure to check for any errors during subsequent steps.
Please note that on a Mac, you should use Homebrew instead of apt to manage dependencies, and some packages may have different names. I recommend skipping this step and addressing any issues with missing packages or libraries as they arise.
Required dependencies:
sudo apt install -y curl wget liblzma-dev libssl-dev libffi-dev libncurses5-dev zlib1g zlib1g-dev libreadline-dev libbz2-dev libsqlite3-dev make gcc google-perftools
Python (via ASDF)
As mentioned before, the Stable Diffusion model required Python to work. Most models were well-tested using Python in version 3.10 so this particular version is recommended. If you already have Python in the required version just skip this step.
To prepare Python in the proper version I'll use the ASDF version manager. In my opinion is one of the best version managers, available for Linux and Mac.
So first of all let's install ASDF:
git clone https://github.com/asdf-vm/asdf.git ~/.asdf --branch v0.13.1
add required paths to .bashrc file (if you use a different shell add this in a proper way to your shell configuration files)
echo ". \"$HOME/.asdf/asdf.sh\"" >> ~/.bashrc
echo ". \"$HOME/.asdf/completions/asdf.bash\""

# To apply configuration in current shell session
source ~/.bashrc
The ASDF is ready to use so we can install the required Python version:
# Install Python plugin
asdf plugin-add python

# Ijstall specific Python version
asdf install python 3.10.12

# Use this Python version globally in your shell sessions
asdf global python 3.10.12
Install Stable Diffusion WebUI
The best way to interact with Stable Diffusion models is in WebUI or ComfyUI. Here we will focus on WebUI.
# Clone WebUI code
git clone https://github.com/AUTOMATIC1111/stable-diffusion-webui.git ~/stable-diffusion-webui

# Hop into the folder
cd ~/stable-diffusion-webui
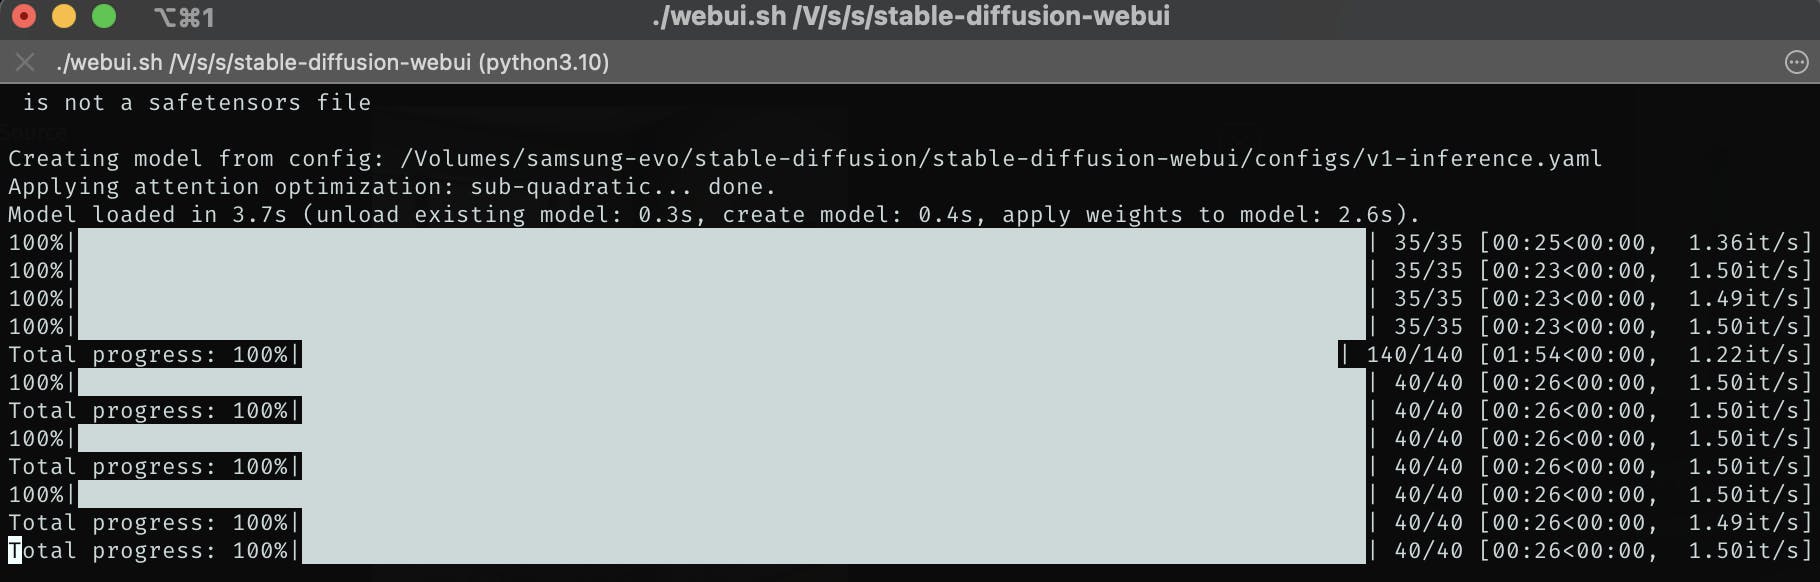
When you run WebUI the first time it takes some time to prepare Python Venv, download packages, and first, basic Stable Diffusion model, probably v1.5-pruned-emaonly (~6.5 GB).
WebUI can be run in either local or shared access mode. Local access opens a panel on your local address, and only you have access to it: http://localhost:7860/. If you choose to run the shared version, you will receive a public link that can be used to access your WebUI from the internet. This is useful when you don't want to open ports on cloud computing providers but be aware that anyone can use your machine to interact in shared mode!
./webui.sh
./webui.sh --share
Pruned and EMA-only means this model is lightweight compared to the full model, primarily because it does not contain additional weights for pre-training or tweaking models. In this case, we will use the ready-made model to generate images instead of customizing it to our needs, allowing us to save some disk space.

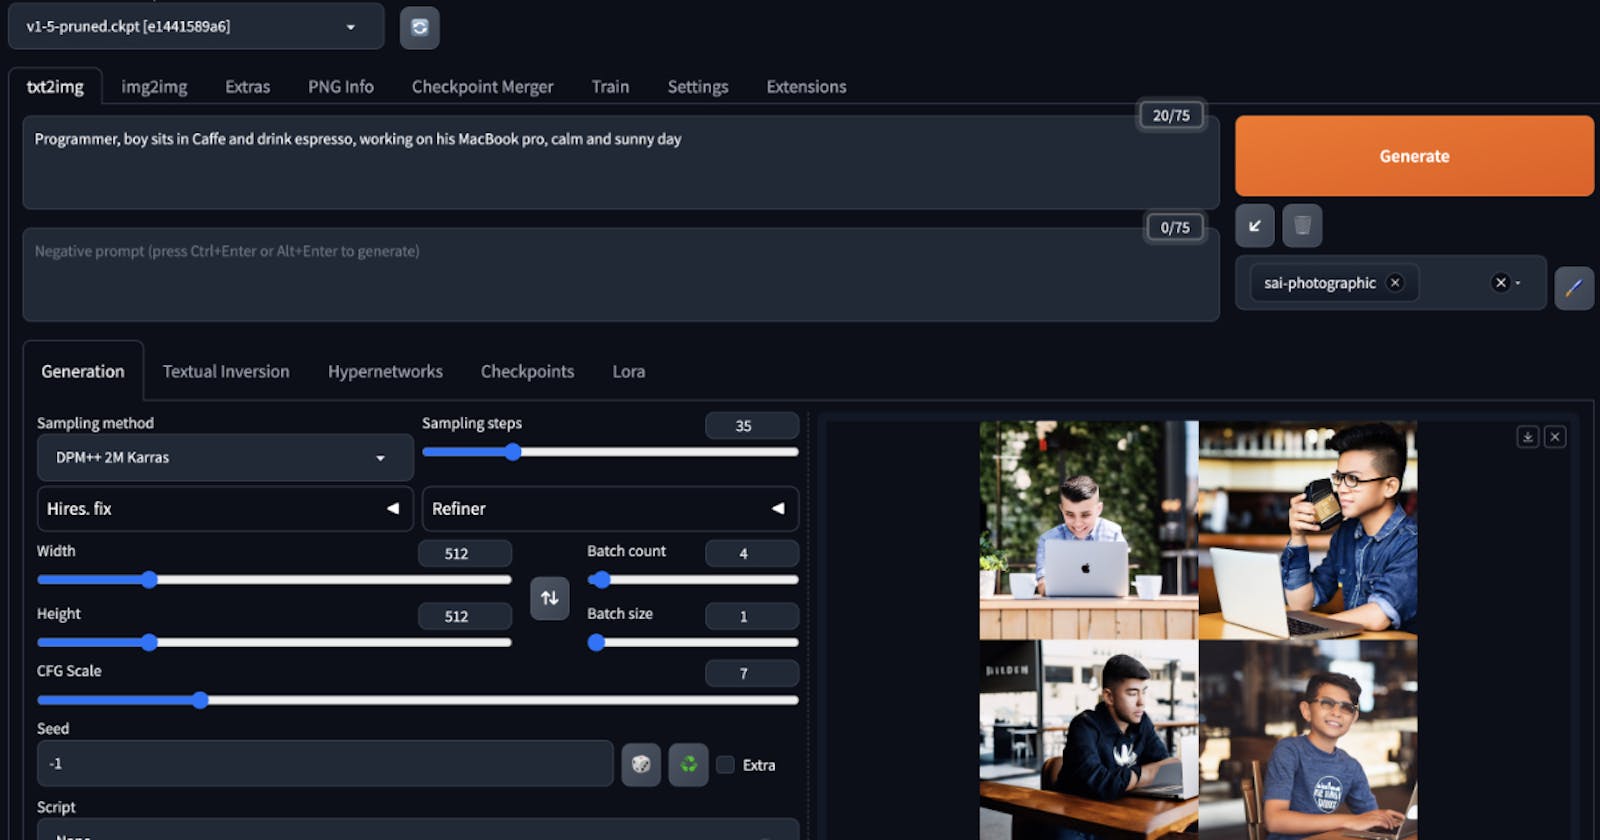
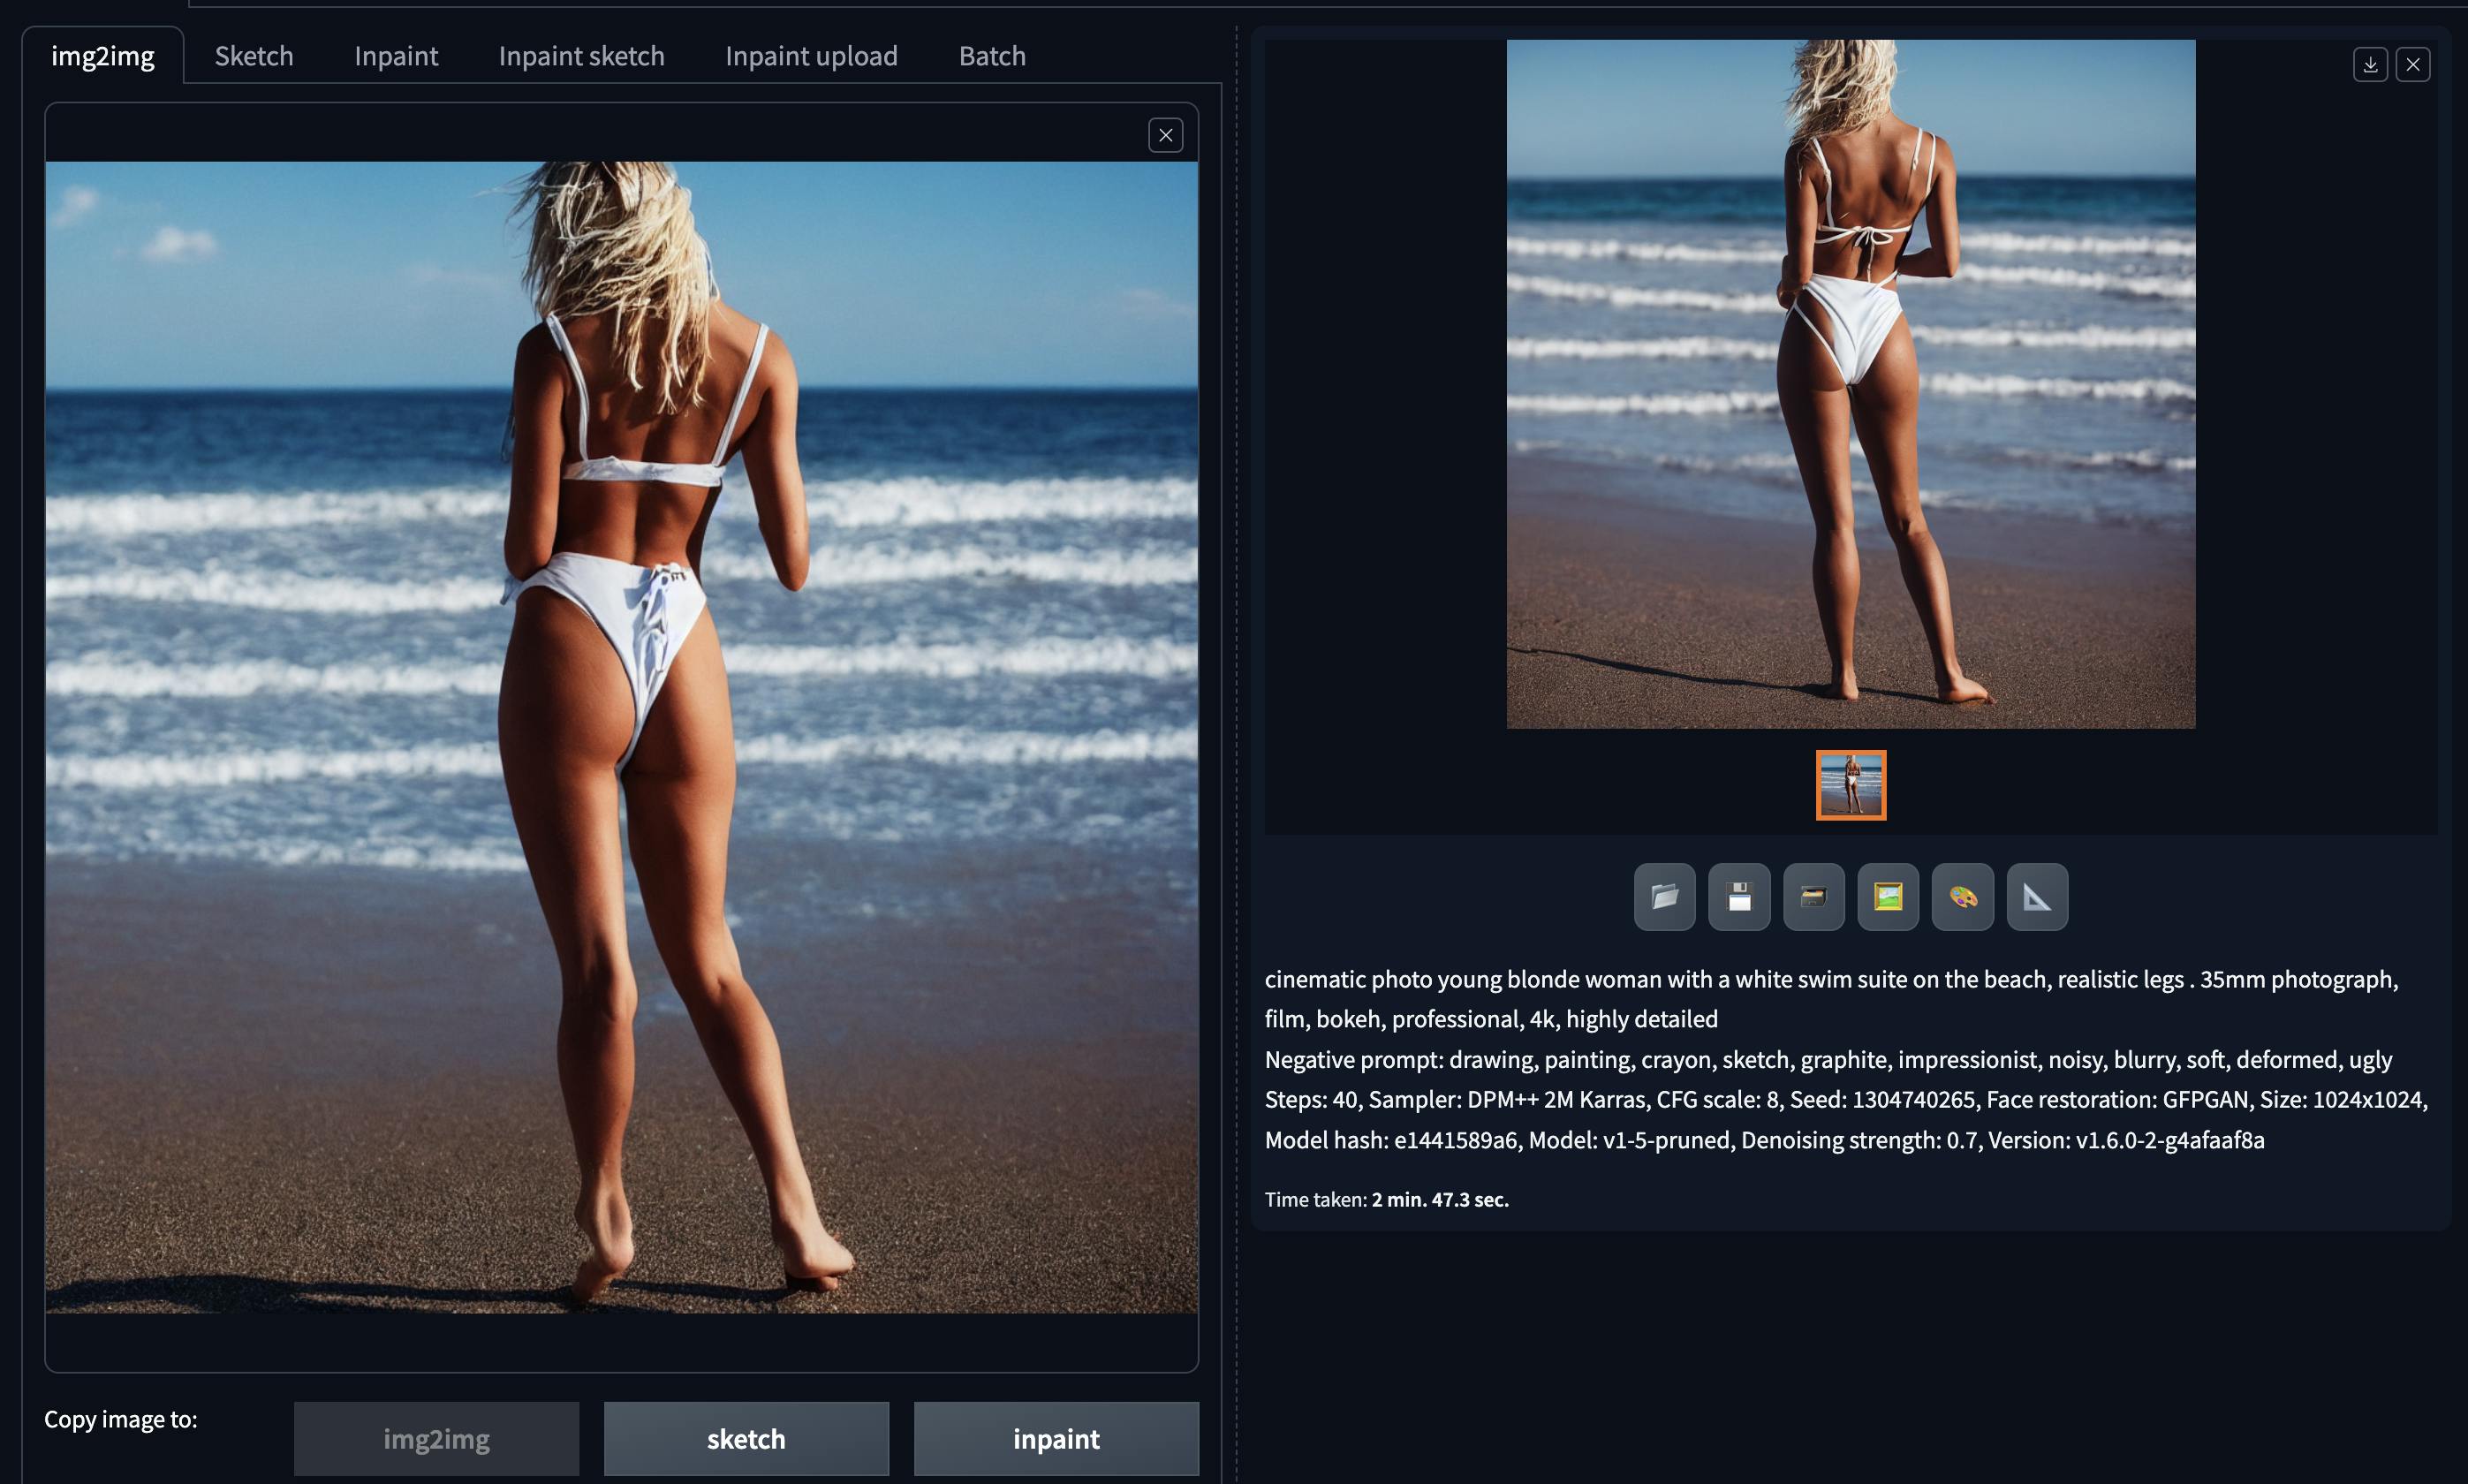
Interact with Stable Diffusion WebUI
Use additional models
You can use different models just by downloading them.
Models are available at https://huggingface.co/models. You can find hundreds of pre-trained models prepared by many different persons. Personally, for now, I use two of them:
runwayml/stable-diffusion-v1-5stabilityai/stable-diffusion-xl-base-1.0
To add a new model download them to the proper folder, refresh WebUI, and select the new version:
cd ~/stable-diffusion-webui/models/Stable-diffusion/

wget https://huggingface.co/stabilityai/stable-diffusion-xl-base-1.0/resolve/main/sd_xl_base_1.0.safetensors?download=true sd_xl_base_1.0.safetensors
Use additional styles
You can stylize your prompt. This is quite easy to use because it is based only on templates where you use predefined prompt words rounding your prompt.
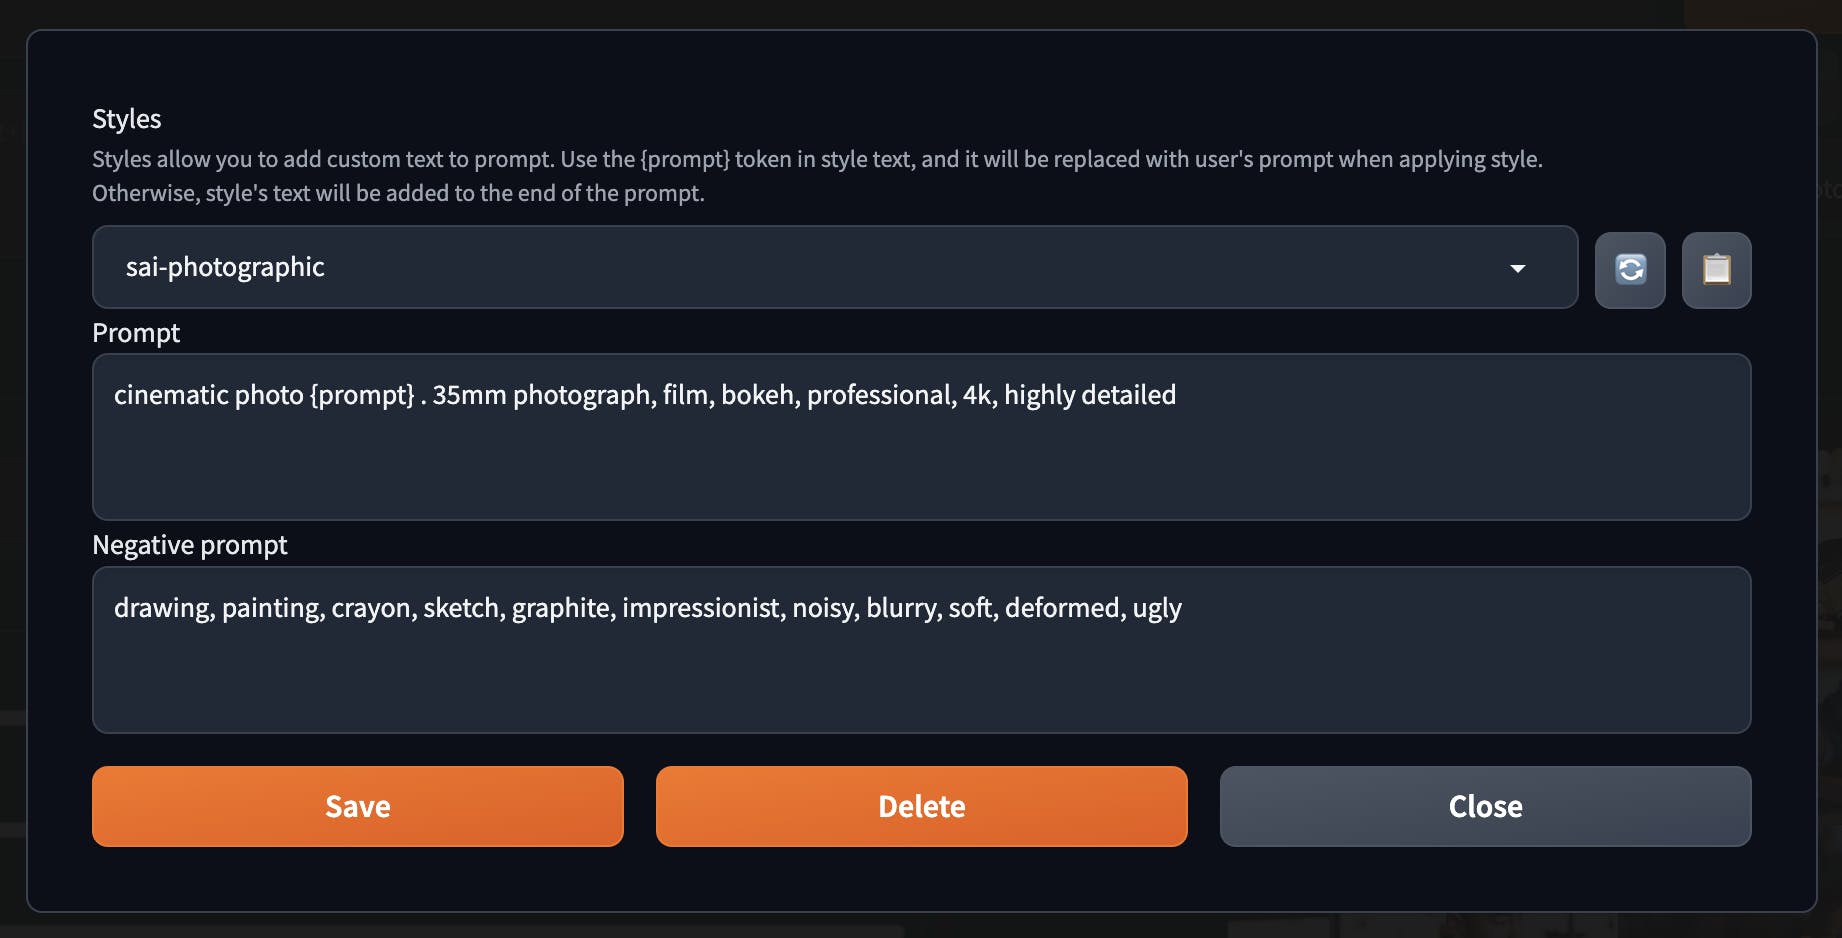
You can view the list of predefined styles created by the community. They function in a truly remarkable manner:
https://gist.github.com/pgrzesiecki/c99564ae81b62e788e43ed264d5be3a1
Tweak results
We have numerous options for adjusting our images. One of the most crucial, which I recommend enabling from the start, is Face Restoration. You can locate this feature in Settings -> Face Restorations. I advise using the GFPGAN model, but it's a good idea to experiment with both and determine the best fit for your requirements.
Once your image is generated, you can use it as an image-to-image input and upscale it in various ways, but this feature warrants a separate article.
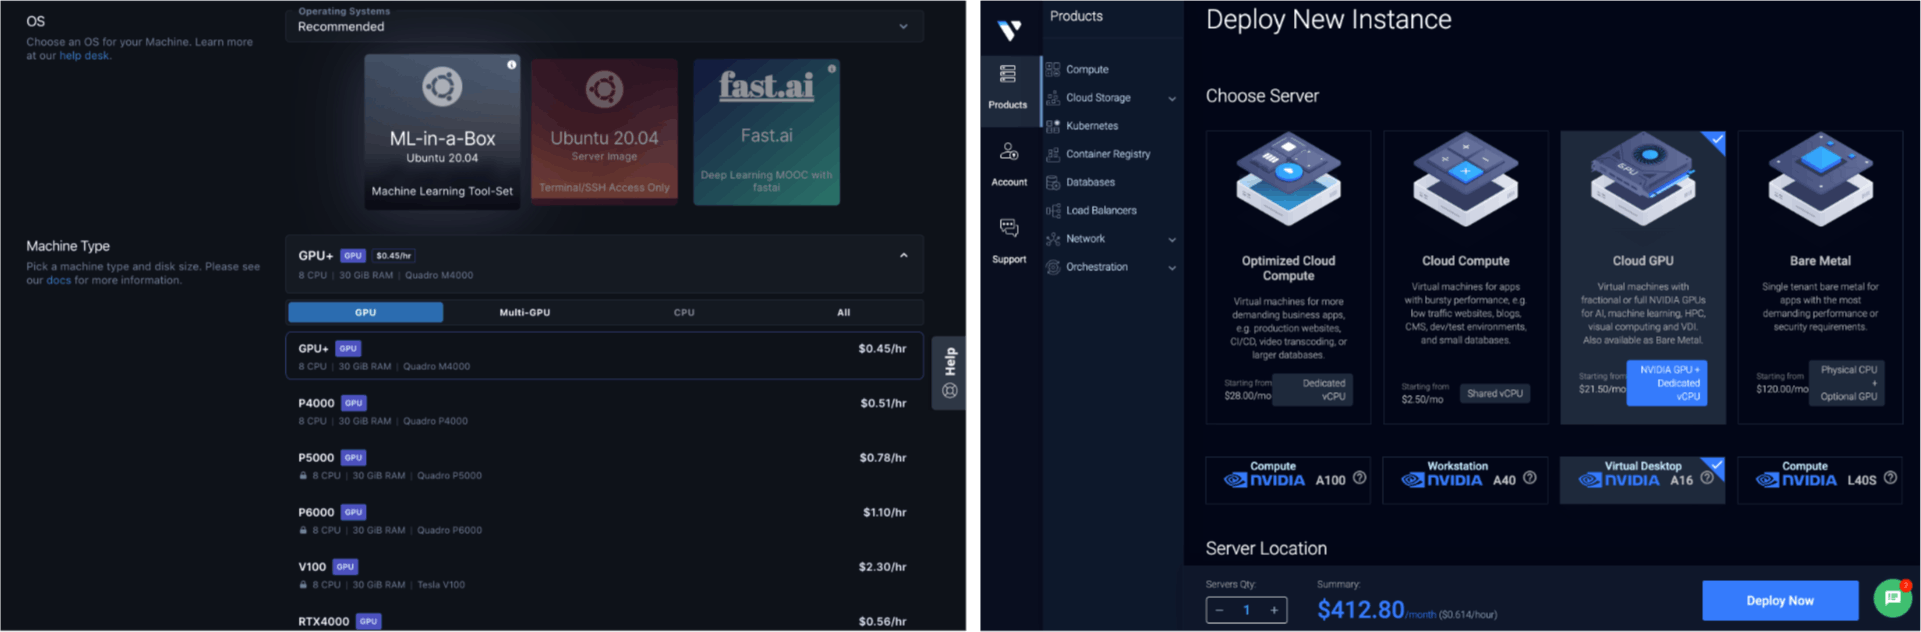
Setup our environment in the cloud
If you cannot use Stable Diffusion locally due to slow generation times, consider using one of the dedicated cloud computing providers that offer GPU-optimized servers.
Vultr - ~$0.5 / hour for 1 GPU. Virtual machines with fractional or full NVIDIA GPUs for AI, machine learning, HPC, visual computing, and VDI. Also available as Bare Metal. You might reach the monthly payment limit, which in my case was $100. If you require more, write to them explaining why and for what purpose, using the dedicated form.
Digital Ocean - here you may use a dedicated service Paperspace which is described as an instance access to blazing-fast GPU and IPUs with a world-class developer experience. Prices also start from around $0.5 / hour for 1 GPU.
There are many more cloud computing options that should fit our needs and provide GPU servers, but I haven't used them, so I'll only mention two well-known and major players: AWS SageMaker and Google Cloud Computing optimized for GPU.
To set up the cloud server, you can utilize my bash script, which addresses all the configuration points mentioned earlier:
Conclusion
In this article, we discuss generating images with AI models, focusing on the Stable Diffusion model due to its versatility, ease of use, and local deployment capabilities. We cover preparing the environment, required software and hardware, installing Stable Diffusion WebUI, and interacting with the tool. Additionally, we explore using additional models and styles, tweaking results, and setting up the environment in the cloud if local usage is not feasible.
Useful links
huggingface spaces - ML apps developed by the community